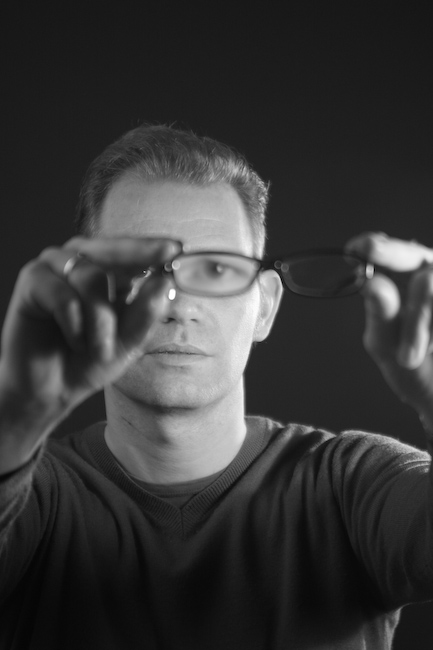
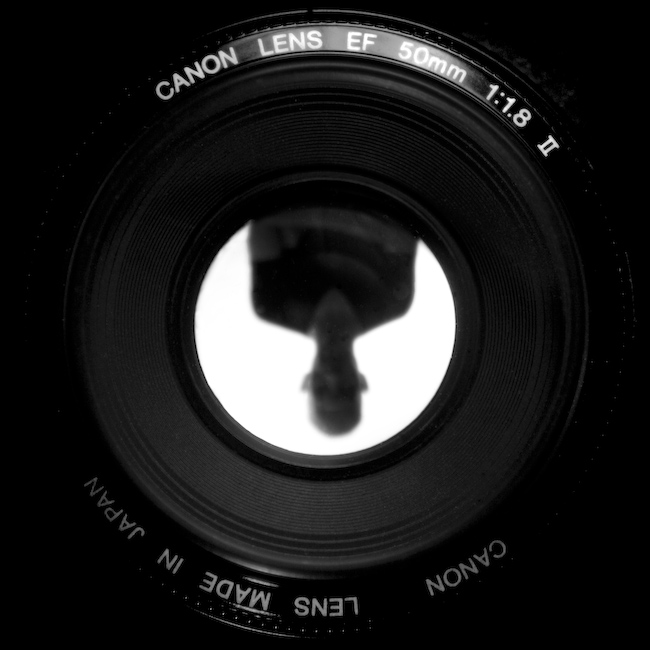
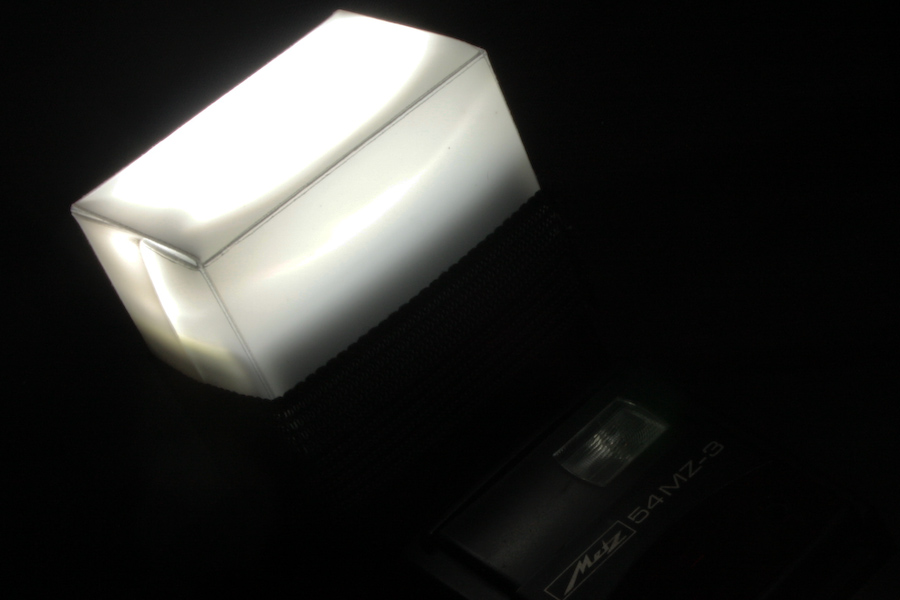
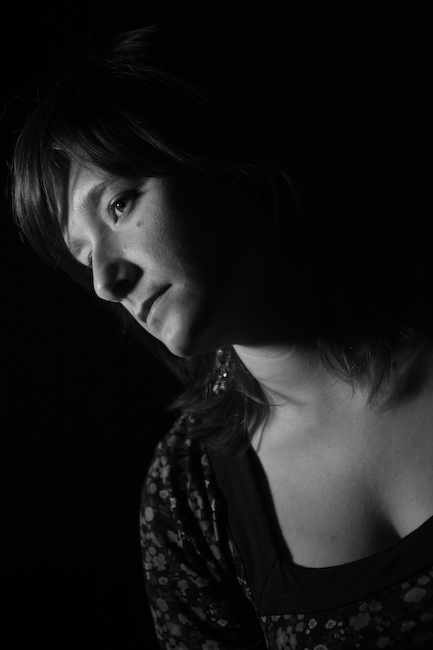
Sorta theme of this day: “Lost and found”, or how to include stuff that is allready there in your images.
For our portrait photography course we had to shoot a self portrait. I had this idea about shooting myself through a lens so worked this out. It proved not that easy but, you live, you learn and I learned some stuff. Or more remembered some stuff actually. It was mainly the space available that bothered me. Included setup diagram (used the psd from Kevin Kertz) and setup pics. Also included some shots made on the third evening of the course.
So, the other day I was thinking about packing stuff and what I was going to drag along with me on a short trip and came across my omnibounce. I thought it’s quite a pain in the … when it has to go in my bag. I had some A4 folders I had bought for a next mini softbox but I figured I could make a nice foldable omnibounce out of this stuff. So after some heavy origami I ended up with this concept which works pretty well. I started out thinking I could do something like the way a shopper bag folds but that would need some gluing and this stuff just won’t glue. After some toying around with paper sheets I made this one. I am working on a V2 which will be able to hold a gel as well. Template is here, it’s for a 70×45 flash head but you can scale it down when printing or . Check out the images for more details.
Last week I started on this course at Griffioen at the VU and these are some of the results from day 2. (Or actually evening 2) The “models” are fellow photographers. Mainly using one light setups, continuous light at high iso’s.
Yes, another “I-wish-I-had-that-idea” moment when I saw these little offcamera flash softboxes. Ideal for strobist activities but too expensive for my liking. (yes, call me dutch but hey, I am) Also I already had the small grids. No worries, all it takes is about 3 euros and less than two hours of your time to get one of these as well… It took me a little more time experimenting and stuff but check out the template in pdf format to print. The material I used is from folders to store A4′s in you can get at any office supply store. Enjoy!
No, I am not afraid to do a total rip-off and call it a DIY project
And thus I decided to build myself a california sunbounce. So I got myself a big reflector, cut it up and brought it to a friend to turn into a nice piece of silver/gold cloth with flexible attachments. I could have done this sewing part myself but it just wouldn’t have been this nice.
The metal parts I got at the regular hardware store, the main parts are actually broomsticks, the flash attachment is made from 2 sizes U-profiles. Only thing is, these broomsticks are bigger than the regular once, looks better IMO. Further some parts I still had from a flash extension cord and an old Metz flash.
The sunbounce flash arm has a screw/clamp system so I think the system I used is easier to turn around, it just clicks into a tube that’s on the mid tube. But that’s just my opinion…
Tested and approved at a recent wedding shoot.

One of those things that was on my photographic wish list was shooting the movement of the stars. (or the movement of the earth?) I recently got a batterygrip from Jenis which has a nice built in timer. This can be used for time-lapse or for really long shutterspeeds. It’s not that easy in use especially when you’re outside in the dark but once you figure it out it’s doable. So last weekend I was in a bungalow at centerparcs and this has the advantage that it’s away from civilization and away from light spill. It was a nice clear evening so I got my camera, hooked up the grip and started doing some test shots. I started with some short(ish) exposure times to dial in the aperture and then calculated an aperture for the longer shots. This worked pretty well. So I got shots up to 24 minutes. I must say that at that point things will become quite boring, it’s a long time to wait… But you get inside, turn on the tv and go out after half an hour. I could have used a remote control to keep the shutter open but here is a plus for the battery grip, with the remote you’d have to keep track of time and get back out there at the right time. One of the things I wondered when I got outside was if it was still recording or if it was done. Well, the red light on the back (at least on the 40D) shows that it’s still in recording mode: don’t pick it up! I also noticed that the display on top of the camera show the elapsed time in the part where you’d usually see the counter, pretty cool he? The next morning I got out very early (ain’t it nice to have kids?) and shot one more at 40 minutes. After that it got too light and there were clouds anyway.
Added another piece of gear to my collection: a simple monopod. Also for use as strobe on a rope at weddings. But, out of the box just doesn’t cut it for me.
So what to do with a monopod? Well, convert it to a flash / lightstand off course. Some more strobist action on the go! There are some really (really!) fancy mods out there but since I (no longer) have access to a machine park I figured something simpler. It starts with a beach shelter which sets you back for about 5 euro’s. Other than that only thing I purchased was some alloy tubes to strengthen the legs, without these the legs were to flexible and the whole thing would tumble. One of the fun things is that you can easily remove the extra legs if you want!
Rest of the “howto” is under the pictures if you view them full size.
Most important for you guys I think is the lessons learned: MDF and screws… not good. Let me know if you’re doing something with this diy howto.
Just noticed that this image had gone over the 1000 views on Flickr! Still a bit sad that it’s a diy thing and that it’s not because of the quality of the image but okay…